
Last updated November 4, 2026
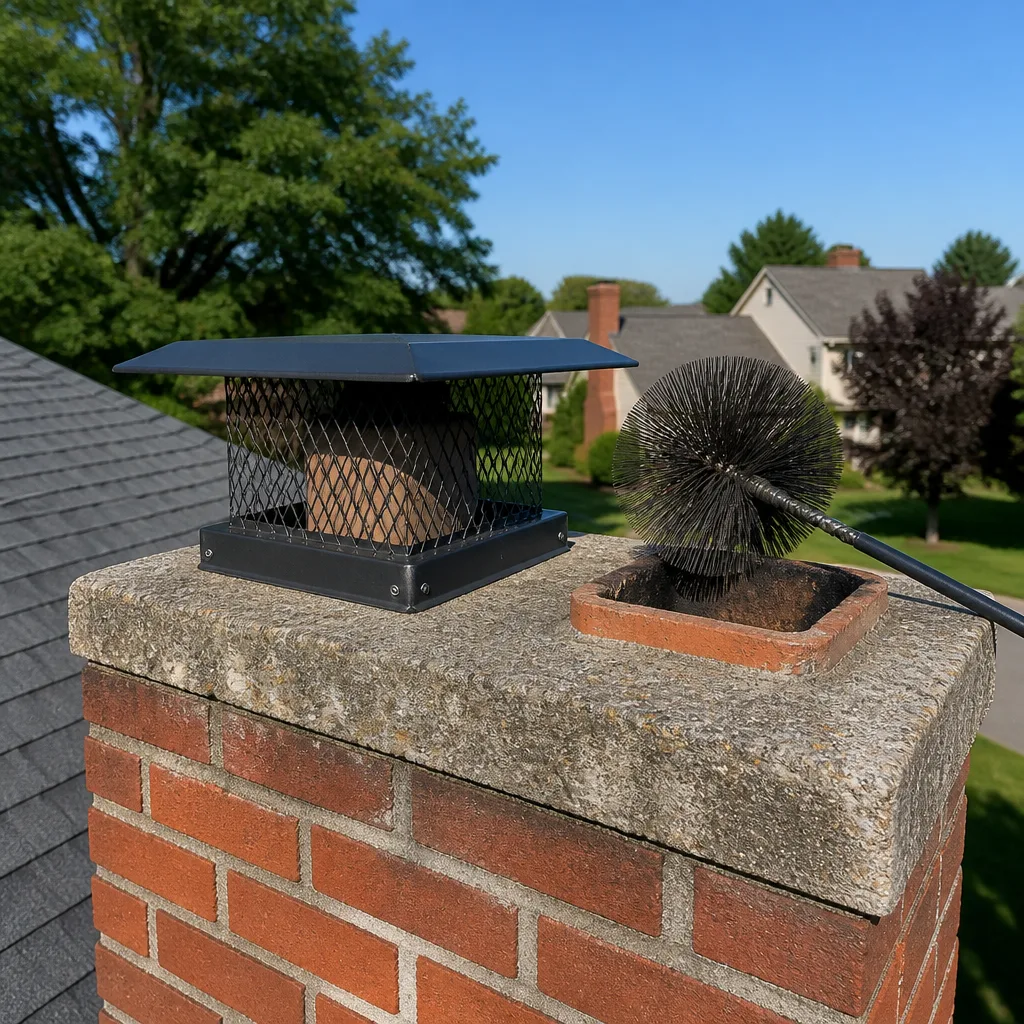 Sweep & inspection
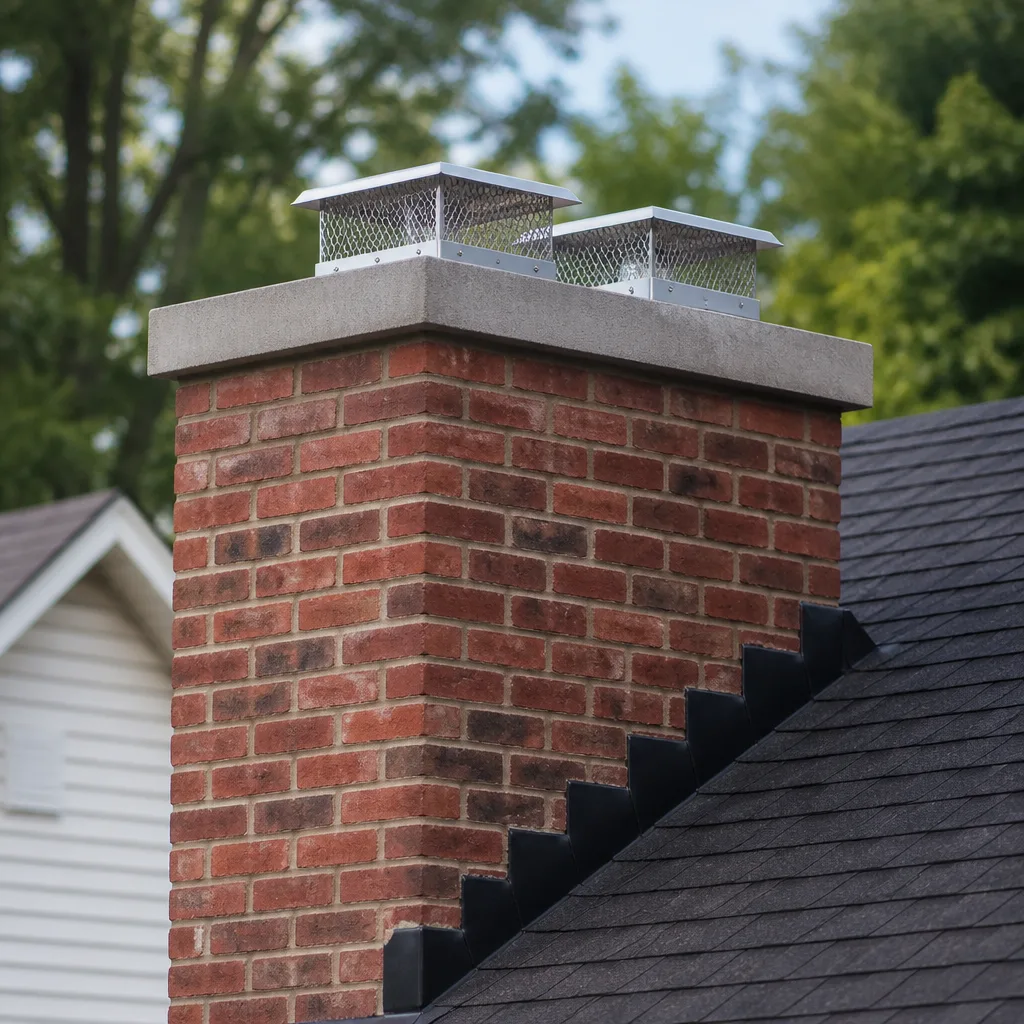 Caps & crowns
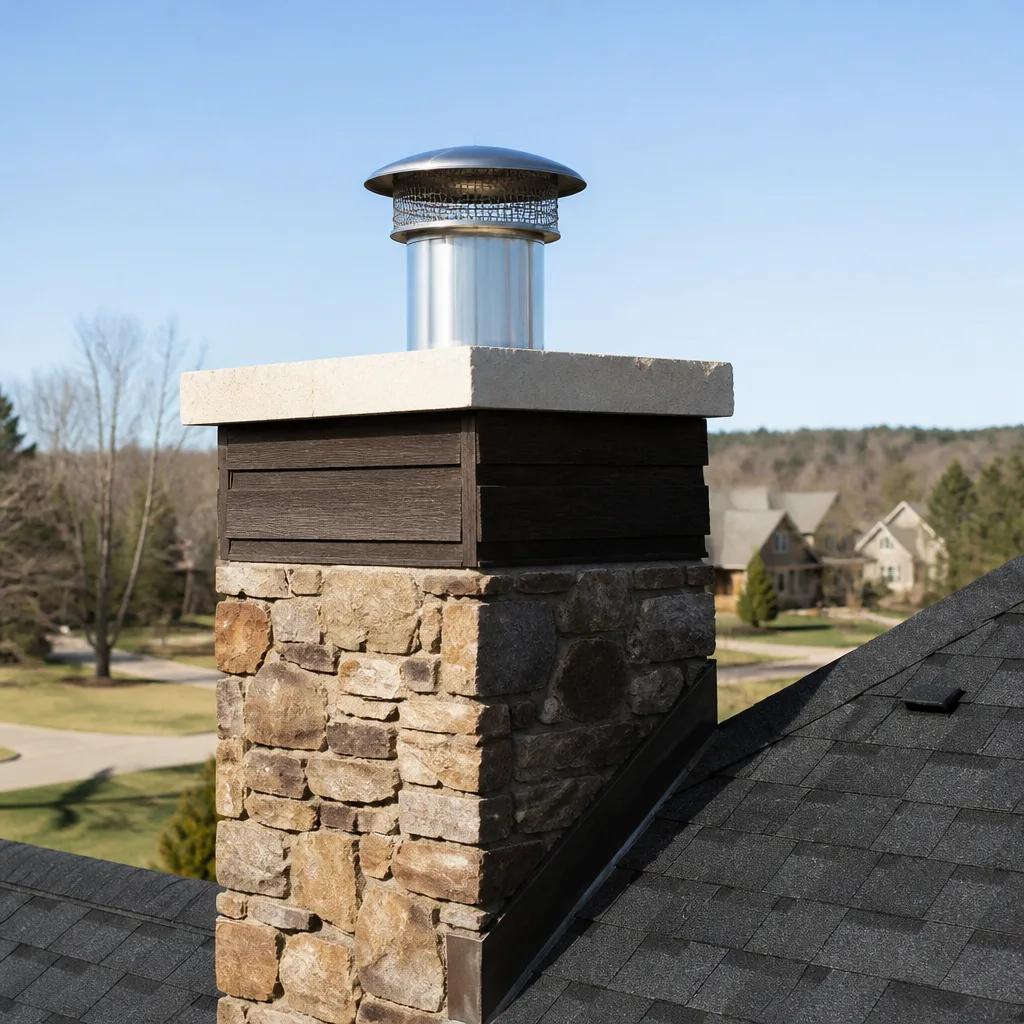 Flue relining
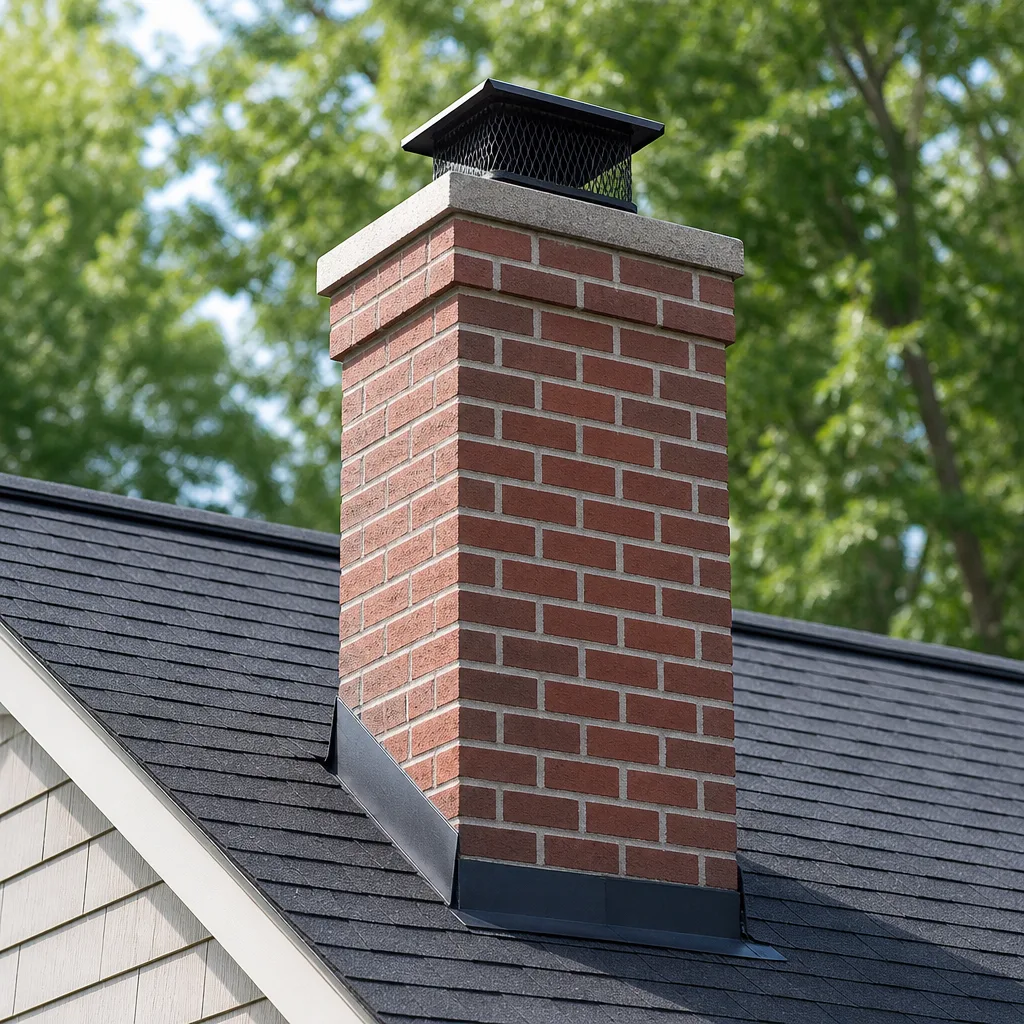 Masonry repair
 Gas fireplace service
Level 1 sweep and inspection to the NFPA 211 annual standard - flue, crown, cap, and flashing checked and photographed
Chimney sweep logs do not sweep chimneys. They loosen some creosote - which then falls where a brush and vacuum still have to collect it.
DIY vs Professional Chimney Cleaning: The Lake Elsinore Homeowner’s Decision Guide
Chimney brushing kits are sold at every hardware store, and they work – on first-degree soot deposits, in systems with no known history of damage, by homeowners willing to work in full PPE on a roof. The question isn’t whether you can do it; it’s whether you know what you’re cleaning. Lake Elsinore homes come with a specific mix of hillside rooflines, older masonry, and seasonal fireplace use that changes the DIY risk calculation in ways most generic online guides never mention. This guide walks through what a chimney cleaning actually involves, what you can realistically do yourself, what you can’t see from the roof, and how to make a decision you won’t second-guess the first cold night you light a fire.
Quick Answer
DIY chimney cleaning is reasonable for homeowners with a straight flue, light soot buildup, a low-pitch roof they can safely walk, and a fireplace inspected by a professional within the past year. If your chimney hasn’t been inspected, has any visible creosote glaze, burns wood more than twice a week, or serves an older masonry system, a professional chimney sweep is the safer call. The deciding factor isn’t skill – it’s whether you have enough information about the flue’s interior condition to clean without risking a hidden defect.
Styles & brands we work with
- Sweep & inspection
- Caps & crowns
- Flue relining
- Masonry repair
- Gas fireplace service
Table of Contents
- The Three Types of Creosote: What You’re Actually Cleaning
- Roof Pitch and Chimney Height: How Lake Elsinore’s Hillsides Change the Math
- What a Real DIY Setup Actually Costs
- What You Cannot Assess Without a Camera
- The Decision Matrix: DIY-Appropriate vs Professional-Required
- The DIY Process, Step by Step (For Those Who Qualify)
- What a Professional Sweep Actually Includes
- Common Mistakes to Avoid
- Frequently Asked Questions
The Three Types of Creosote: What You’re Actually Cleaning
Creosote is not one substance. It forms in three distinct stages, and the stage you’re dealing with determines whether a homeowner with a brush can handle it or whether you need chemical treatment and mechanical removal. Understanding this distinction is the single most important piece of knowledge in the entire DIY-versus-professional decision.
First-degree creosote is a fine, powdery soot. It’s the most common deposit in well-used fireplaces that burn seasoned hardwood with adequate airflow. It brushes off easily with a standard wire chimney brush, and it’s the only type of deposit a homeowner can reasonably address without professional equipment. Most DIY brushing kits are designed for first-degree soot only, though very few kits say that on the box.
Second-degree creosote is a flaky, granular deposit that looks like black cornflakes. It forms when chimney temperatures fluctuate, typically in systems that experience frequent low-burn fires or wood that isn’t fully seasoned. A brush will knock some of it loose, but the deposit can compact in offset joints and smoke shelf areas where a homeowner’s brush never reaches. This is the gray zone where DIY cleaning appears successful from the top and fails in the middle of the flue.
Third-degree creosote is a hard, glazed, tar-like coating. It forms when creosote is repeatedly heated and cooled until it concentrates into a dense, shiny layer that can resemble glass. No homeowner brush will remove third-degree creosote. It requires professional chemical treatment – products like those applied in a multi-step process – followed by mechanical removal with rotary equipment. Here’s the part most guides skip: third-degree creosote is highly combustible, and it’s the deposit type most strongly associated with chimney fires. If you see glossy, hardened buildup at the flue opening, do not attempt to brush it yourself. A brush will skate across the surface and leave the hazard in place.
Lake Elsinore’s seasonal fireplaces create a specific creosote pattern. Because winters are mild, many homeowners burn occasional fires on cool evenings rather than daily heating fires. Those irregular, lower-temperature burns produce more second-degree creosote than a home in a colder climate burning daily hot fires. It’s a subtle difference, but it matters: the Lake Elsinore fireplace used twice a week in December is more likely to have granular, partially-compacted creosote than the same fireplace in a northern state. That shifts the DIY calculation toward professional assessment.
Roof Pitch and Chimney Height: How Lake Elsinore’s Hillsides Change the Math
Most DIY chimney cleaning guides assume a walkable roof. Lake Elsinore doesn’t always offer one. The city’s hillside development areas – the neighborhoods climbing away from the lake toward the Ortega foothills – include homes with steep roof pitches, multi-story elevations, and chimneys that rise well above the roofline. Those conditions change the risk calculation before you even pick up a brush.
A standard two-story home with a 4:12 or 5:12 roof pitch is workable for a careful homeowner with proper footwear and a fall-arrest mindset. But many hillside homes in Lake Elsinore feature 6:12 to 8:12 pitches, where standing and working with two hands becomes genuinely hazardous. Add a tall masonry chimney, and you’re now working at height with a brush, a rod set, and a drop cloth, while maintaining balance on a surface that wants to slide you off. The DIY calculus isn’t about courage. It’s about whether the physical conditions allow you to do the job safely while actually accomplishing the cleaning.
Chimney height matters for another reason: rod set length. A chimney that rises 5 feet above the roofline is manageable with a standard 18-foot rod kit. A chimney that rises 10 or 12 feet above a steep roof on a hillside lot requires more rod sections, more control, and more time working near the roof edge. Every additional rod section increases the flex in the assembly, which makes the brush less effective at the bottom of the flue. Homeowners often finish a tall DIY cleaning and discover the lower 4 feet of flue never got properly brushed because the rods bowed in the middle.
We’ve cleaned chimneys in Lake Elsinore where the homeowner attempted a DIY brush and stopped halfway – not because the task was too hard, but because they got on the roof and recognized the conditions were beyond what they’d anticipated. That’s not failure. That’s accurate risk assessment. If you wouldn’t comfortably stand on your roof for 45 minutes with both hands occupied, you’ve answered the DIY question already.
What a Real DIY Setup Actually Costs
Hardware store chimney cleaning kits advertise a brush and a few fiberglass rods for $40 to $80. That price is not the cost of doing the job properly. A homeowner who wants to clean a chimney without making a mess, without damaging the flue, and without inhaling creosote dust needs to factor in the full equipment list – and that list runs $150 to $300 before the first use.
Here’s what a proper DIY setup actually includes:
- Correctly sized wire brush: $25 – $45. The brush must match the exact flue dimensions. Too small, it won’t make contact. Too large, it can bind or damage older clay liners. Most hardware store kits only carry round brushes, but many chimneys are rectangular.
- Rod set sufficient for flue height: $30 – $60. Fiberglass rods flex. The cheap sets flex more. You need enough rod sections to reach the full flue length with the brush under slight compression.
- HEPA vacuum or at minimum a shop vac with a fine-dust filter: $50 – $120 added to whatever vac you own. Creosote dust is carcinogenic. A standard shop vac filter lets the fine particles blow right back into your living room. You need a HEPA-rated unit or a high-efficiency filter bag, and you’ll likely dedicate that filter to chimney work permanently.
- Containment drop cloths and tarps: $20 – $40. Proper chimney cleaning produces a substantial volume of soot. The fireplace opening must be sealed, and the surrounding floor protected. Plastic sheeting and painter’s tape work, but you need enough to fully enclose the firebox opening while still running the rods through.
- PPE including respirator with P100 filters, eye protection, and gloves: $40 – $80. Creosote is not something to inhale or get on your skin. A P100 respirator is the minimum. Disposable dust masks do not offer adequate protection.
- Roof safety gear if not already owned: $0 – $150. If you already have good work boots and a roofing harness, this is zero. If you don’t, you’re pricing a harness and anchor system.
Add it up, and the realistic first-use cost is $150 to $300, assuming you already own a shop vac and basic tools. That equipment will last for years, so the per-cleaning cost drops over time. But that first-year investment is comparable to a professional sweeping in many markets. The math changes if you clean twice a year for five years – a DIY setup pays for itself. The math looks worse if you discover after buying everything that your flue has second- or third-degree creosote that a brush won’t remove anyway.
One more equipment consideration specific to our area: chimneys built into hillside homes in Lake Elsinore often have non-standard flue dimensions. Older masonry fireplaces built to custom specs don’t always match the standard 8×8, 8×12, or round configurations that hardware store brushes are sized for. If your flue is an uncommon dimension, a standard brush won’t clean it properly no matter how carefully you work. Professional sweeps carry a range of brush sizes and can fabricate or order the correct fit. A homeowner with an off-size flue is spending money on equipment that literally cannot do the job.
What You Cannot Assess Without a Camera
The most honest argument for professional chimney cleaning isn’t about technique at all. It’s about data. A chimney brush – yours or ours – only removes surface deposits. It cannot tell you what’s underneath, behind, or above those deposits. And the conditions that actually cause chimney fires or carbon monoxide intrusion are the ones you cannot see from the firebox opening or the flue top.
A professional chimney inspection uses video scanning equipment to see the entire flue interior. That camera reveals things a homeowner standing on a roof simply cannot assess:
- Liner cracks and separations: Clay tile liners crack over time, especially in chimneys that have experienced thermal stress. A cracked liner allows heat and gases to reach combustible framing. From the top, the flue looks fine. From the inside, it may be fractured in three places.
- Smoke chamber spalling: The smoke chamber sits between the firebox and the flue, a transitional area most homeowners never see. Its masonry can spall – the surface flakes and deteriorates – under repeated heating. Spalled smoke chamber surfaces trap creosote and create turbulence that worsens deposits over time. Brushing won’t repair this, and it often can’t even clean it effectively.
- Offset flue joints: Many chimneys have offset sections where the flue shifts to accommodate framing. Those joints are vulnerable to mortar deterioration. A homeowner brushing from the top can’t see whether the brush is passing through a clean, intact joint or grinding against exposed, crumbling mortar.
- Hidden animal nests or blockages: A partial blockage deep in the flue – a bird’s nest, a piece of deteriorated masonry, a dead animal – won’t be visible from either end. Brushing through a hidden blockage can compact it further, worsening the restriction rather than clearing it.
- Water intrusion evidence: Staining, efflorescence, or spalling on the interior flue walls indicates a water entry problem that cleaning alone won’t solve. A video scan shows where moisture has been getting in and whether the flue liner has suffered as a result.
This is where the DIY-versus-professional decision gets clear. If your chimney hasn’t been inspected by a professional, you’re cleaning a system you don’t fully understand. That’s not fear-mongering – it’s the same logic as changing your own oil without ever checking the rest of the engine. The oil gets changed, the filter gets replaced, and the cracked head gasket goes unnoticed until it fails catastrophically. A chimney brush is the same. It maintains a surface while ignoring what’s underneath.
In our experience serving Lake Elsinore, the chimneys most likely to have hidden defects are the ones attached to homes built before the 1990s. Masonry techniques from that era, combined with decades of thermal cycling and occasional seismic movement, produce the kind of hairline cracking that a video scan catches and a brush misses entirely.
The Decision Matrix: DIY-Appropriate vs Professional-Required
Rather than debating in the abstract, here’s the framework we use when homeowners ask whether they should brush their own chimney. It’s based on four factors: system age, last professional inspection date, fuel type, and usage frequency. Answer honestly, and the decision makes itself.
DIY is reasonable when all four are true:
- System age under 20 years, or fully relined within that period. A newer chimney in good structural condition is a known quantity. You’re maintaining a clean system, not rehabilitating a deteriorating one.
- Professional inspection within the past 12 months. You know the flue interior. You know whether there are cracks, offsets, or spalling. You’re cleaning on top of good data.
- Burning seasoned hardwood only. Seasoned wood burns hotter and produces less creosote. If you’re burning unseasoned wood, construction scraps, or artificial logs, you’re creating deposits a brush won’t reliably handle.
- Usage of two fires per week or fewer during burn season. Light use means light deposits. Heavy use means the flue is accumulating creosote faster than you think, and a homeowner brush may not keep up.
Professional cleaning is the right call when any of these apply:
- No inspection history, or inspection more than two years ago. You’re cleaning blind. The first step isn’t brushing – it’s finding out what’s actually in there.
- System age over 20 years without a full relining. Older masonry flues have had time to develop the kind of deterioration that brushing won’t address and may actually worsen by dislodging loose material.
- Burning anything other than seasoned hardwood. Unseasoned wood, manufactured logs, or any material with unknown moisture content creates more aggressive creosote deposits. This is also where second- and third-degree creosote most often forms.
- Usage of three or more fires per week. Heavy use requires more frequent cleaning and, often, more aggressive mechanical removal than a homeowner’s brush can provide.
- Visible glazed creosote at the flue opening. If you can see shiny, hardened tar-like deposits at the top, the rest of the flue is worse. This is a professional chemical and mechanical job, not a brush job.
- Steep roof pitch or chimney height exceeding comfortable working range. We covered this above. Safety trumps savings every time.
The matrix exists because there’s no universal answer. Some Lake Elsinore homeowners can absolutely handle their own chimney cleaning. Others – often the ones with the oldest chimneys and the steepest roofs – should not try. The skill isn’t the variable. The system’s condition and the access conditions are.
The DIY Process, Step by Step (For Those Who Qualify)
If the decision matrix points to DIY, here’s the process we’d recommend. Not the abbreviated version on the back of the hardware store box – the full process that actually cleans the chimney without making a mess of your house or putting you on a roof unprepared.
- Verify your flue dimensions before buying anything. Measure from the top or from the firebox if accessible. Match the brush to the exact dimensions. This sounds obvious. Most DIY failures start with a brush that’s too small.
- Assemble your full equipment list before starting. Brush, rods, HEPA vacuum, drop cloths, seals, PPE, and roof safety gear. Nothing is worse than being on the roof and realizing you need something from the garage.
- Seal the fireplace opening from inside. Tape plastic sheeting completely over the firebox opening. This is the step that prevents your living room from being coated in soot. Cut a small slit for the rods. Use painter’s tape around the edges to create a full seal.
- Set up the HEPA vacuum inside with the hose positioned near the firebox opening. Run it while you brush. The vacuum catches the fine particles that escape through the rod slit.
- On the roof, secure yourself properly. If the roof pitch warrants a harness, use one. Work from a position where you can maintain three points of contact whenever possible.
- Brush from the top down, adding rod sections as you go. Push the brush down the flue in short, firm strokes. Don’t spin the rods aggressively – the goal is to scrape deposits loose, not to polish the liner. Aggressive spinning can damage older clay tiles.
- Once the brush reaches the smoke shelf, stop. The brush isn’t designed to clean the smoke chamber effectively, and forcing it further can damage the transition area.
- Reverse the process to remove the rods, vacuuming as you go. Most of the dislodged soot falls to the firebox. The vacuum captures it as it falls.
- Clean the firebox and smoke shelf thoroughly. This is the part many DIYers skip. The dislodged creosote has to be removed, not just pushed around. Use the HEPA vacuum and inspect what you can see.
- Dispose of creosote waste properly. Creosote is a hazardous substance. Bag it and dispose of it with household hazardous waste, not in your regular trash.
One note from the field: the hardest part of a DIY chimney cleaning isn’t the brushing. It’s recognizing what you’re seeing. When a homeowner brushes a chimney and dislodges material that looks unusual – a chunk of mortar, a piece of clay tile, an unexpected amount of scale – the proper response is to stop and call a professional. The brush just provided diagnostic information. That information matters.
What a Professional Sweep Actually Includes
Professional chimney sweeping gets undervalued because it looks simple from the outside: a person on a roof with a brush. What you’re actually paying for is data, capability, and accountability. Here’s what a professional cleaning from Chimney Sweep Lake Elsinore includes that a hardware store kit never will.
First, the inspection happens before the brushing. We assess the flue from both ends, run a video scan, and identify the deposit type, the liner condition, and any structural concerns. The cleaning is then tailored to what the scan shows – a light brushing for first-degree soot, or chemical treatment and rotary removal for second- or third-degree creosote.
Second, the cleaning extends beyond the flue itself. The smoke chamber gets cleaned, the firebox gets fully cleared, and the damper assembly is checked for proper function. A homeowner brushing from the top only addresses the flue. The smoke chamber, where turbulence creates deposits, needs its own attention.
Third, a professional sweep comes with the capability to address what the inspection finds. That’s the single largest gap between DIY and professional work. When our video scan reveals a deteriorated smoke chamber, we can apply HeatShield ceramic resurfacing to restore the surface without a full rebuild. When the liner shows cracking, we can install a DuraFlex flexible liner system rather than breaking out masonry. When the chimney cap is missing or damaged, we install a replacement from our stock of trade-grade components. A homeowner with a brush can clean but cannot repair. The sweep reveals the problem; the professional fixes it.
Fourth, the professional sweep includes containment in both directions. We seal the firebox opening, run HEPA filtration during the cleaning, and leave the room cleaner than we found it. The trade-off homeowners often overlook is the mess. A DIY chimney cleaning without proper containment will coat the living room in a fine layer of creosote dust. That dust is not harmless. Proper cleanup is part of the professional job, not an extra step you’re left to figure out.
Finally, a professional sweep produces a written record. If you sell your Lake Elsinore home, a documented cleaning and inspection history is valuable during escrow. Many buyers now request chimney inspection documentation. A DIY cleaning produces no record that means anything to a buyer or an inspector.
Common Mistakes to Avoid
- Buying a brush before measuring the flue. The most common mistake. A homeowner buys a kit, gets on the roof, and discovers the brush doesn’t match the chimney dimensions. The brush either doesn’t clean or binds in the flue. Measure first, order second.
- Skipping the video inspection and cleaning anyway. Cleaning a chimney with no inspection history is like driving a car with no idea what’s under the hood. The brush can dislodge loose mortar or damage a compromised liner and the homeowner has no idea it happened.
- Attempting to brush glazed creosote. A homeowner brush cannot remove third-degree creosote. Trying anyway wastes time, gives a false sense of accomplishment, and leaves the fire hazard in place. If you see shiny, hardened deposits, call a professional.
- Underestimating Lake Elsinore’s hillside roof pitches. The difference between a walkable roof and a slide hazard is significant. Homeowners who are comfortable on a 4:12 pitch find themselves genuinely unsafe on a 7:12. The chimney doesn’t move, but the risk profile changes completely.
- Neglecting the smoke chamber. Even DIYers who brush the flue properly often leave the smoke chamber untouched. That’s where turbulence concentrates creosote, and over time, that chamber becomes the source of recurring blockages.
- Using the wrong vacuum. A standard shop vac without a HEPA filter will blast creosote dust into the room. The finest particles – the ones most dangerous to inhale – go right through the standard filter. If you’re going to DIY, invest in proper filtration.
- Confusing a clean chimney with a safe chimney. A flue can be brushed clean and still have a cracked liner, a deteriorating smoke chamber, or a hidden blockage. Cleaning addresses deposits. It does not address structural condition. Keep both concepts separate.
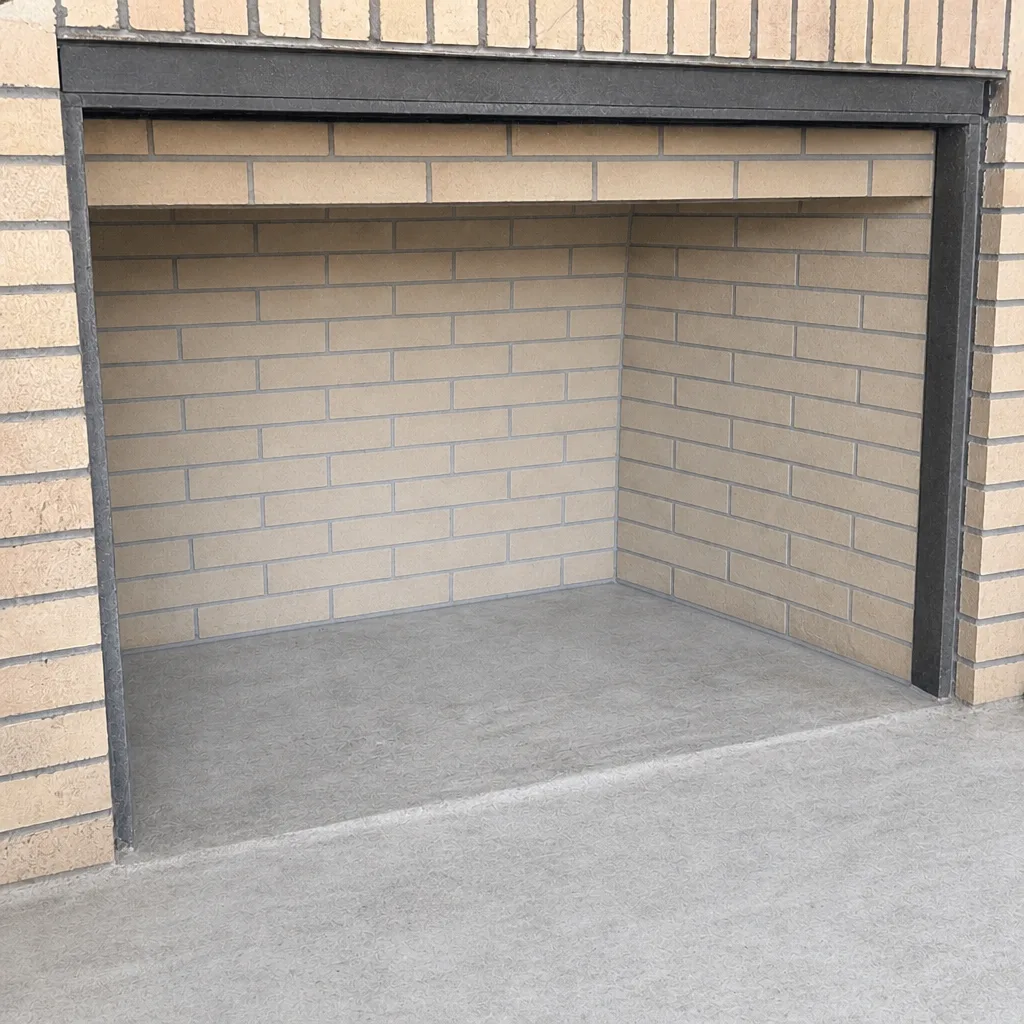
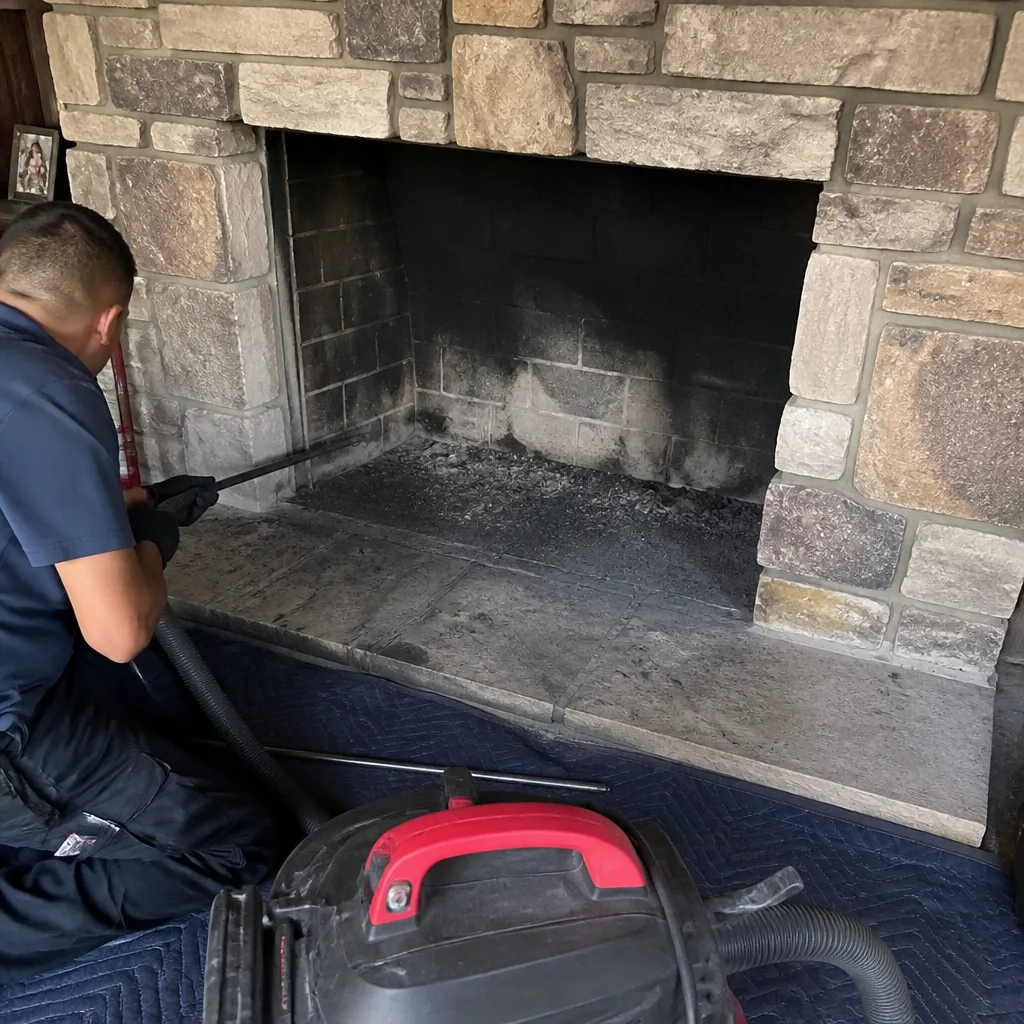
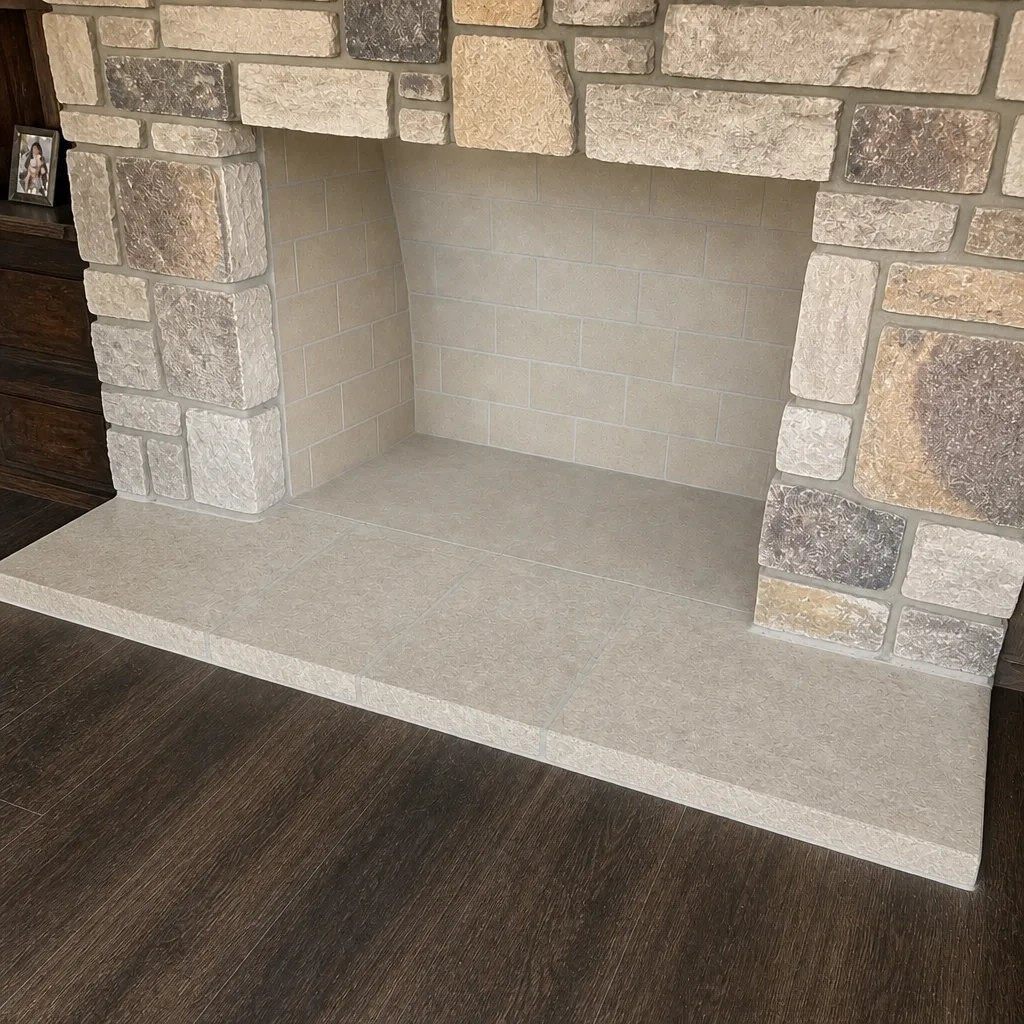
See the difference
 Before
 After
 Before
 After
 Before
 After
When to Call a Professional
Call a professional when the decision matrix points that way: no recent inspection, older system, frequent use, glazed creosote, steep access, or any sign of structural concern. Call when your brush dislodges something that looks like masonry rather than soot. Call when you see evidence of water intrusion or staining on the interior walls. Call when you haven’t had the chimney looked at in two or more years and you plan to burn regularly this winter. The cost of a professional sweep is a fraction of the cost of repairing a chimney fire’s aftermath – and fires don’t send an invoice first.
Chimney Sweep Lake Elsinore offers free estimates in Lake Elsinore – call (833) 589-9415. We answer 24/7. Fast dispatch from 7am to 7pm, Sunday through Friday.
Frequently Asked Questions
Professional chimney sweeping in Lake Elsinore is priced per job based on the flue size, deposit level, and accessibility, with the final cost set by a written estimate. A standard sweeping on a well-maintained fireplace typically runs in line with regional averages, while chemical treatment or heavy creosote removal adds to the total. The estimate is free, so you’ll know the exact number before any work begins. Call (833) 589-9415 for a quote.
The National Fire Protection Association recommends a professional inspection at least once a year, with cleaning scheduled based on what the inspection reveals. Homes burning two fires per week or fewer may only need cleaning every other year, while heavy-use fireplaces can need it twice per season. In Lake Elsinore, the mild winters and seasonal burning patterns mean most homes fall somewhere in between. The inspection determines the cleaning interval – not a calendar date.
Creosote continues to accumulate, and the deposits become progressively more difficult to remove. First-degree soot transitions to second-degree granules, then to third-degree glaze – and at that point, the flue becomes significantly more combustible. A chimney fire in a glazed flue can reach temperatures high enough to crack a clay liner and expose combustible framing. Skipping a cleaning also means skipping the inspection, which allows small problems to become expensive ones. The cheapest chimney cleaning is the one you book before the deposits get ahead of you.
Not necessarily. A dirty chimney is a maintenance issue. A cracked or deteriorated liner is a structural issue. The two are only related in that a clean flue allows us to actually see the liner condition. A video inspection will show whether cleaning is sufficient or whether the liner needs attention. If the liner does need repair, options like Lake Elsinore relining with DuraFlex flexible systems can address the problem without a full chimney rebuild. Nothing is recommended without camera evidence you can review yourself.
Technically, some systems can be brushed from the bottom up, but it’s a less effective method. Bottom-up brushing pushes creosote toward the top, where it has to be removed from the roof anyway – and the containment requirements become much harder to manage. A bottom-up cleaning also puts the person doing the work directly in the creosote fall zone. Proper cleaning is done from the top down, which means roof access is unavoidable. If your roof pitch or chimney height makes that unsafe, that’s a professional-job indicator.
A proper inspection checks for creosote stage, liner cracks, mortar joint deterioration, smoke chamber spalling, damper function, chimney cap condition, flashing integrity, and signs of water intrusion. The video scan documents everything, and the homeowner gets a report on what was found and what, if anything, needs to be addressed. It’s diagnostic work, not just a cleaning. The inspection is what turns a routine maintenance visit into the data you need to make good decisions about your fireplace.
The Bottom Line
DIY chimney cleaning has its place. Homeowners with newer systems, recent professional inspections, light use, and safe roof access can brush their own flues and save the cost of a professional visit. But the decision should be driven by information, not frugality. A brush maintains a known system. It cannot diagnose an unknown one, and it cannot repair a damaged one. If your chimney hasn’t been inspected, if it burns regularly, or if the access conditions give you any pause, professional cleaning is the right investment. The stakes are a chimney fire or a carbon monoxide leak – and neither is worth the savings from a hardware store brush kit.
Written by the team at Chimney Sweep Lake Elsinore, serving Lake Elsinore since 2013.